

 Tracer
Web app integrations (app.healops.ai)
Enterprise and SaaS integrations are configured directly from the HealOps web app. No CLI required.Step 1 — Open the Integrations page
Sign in at app.healops.ai and click Integrations in the left sidebar. The page shows every available integration with a connection badge:Step 2 — Expand an integration card
Click any integration card to expand it. Each card shows:- A link to the provider-specific setup guide (opens in a new tab)
- Input fields for the required credentials (API keys, tokens, etc.)
Step 3 — Paste your credentials
Enter your API key, application key, or token in the fields. Field labels are named after the values shown in each provider’s dashboard. The setup guide link in the card walks you through where to find them.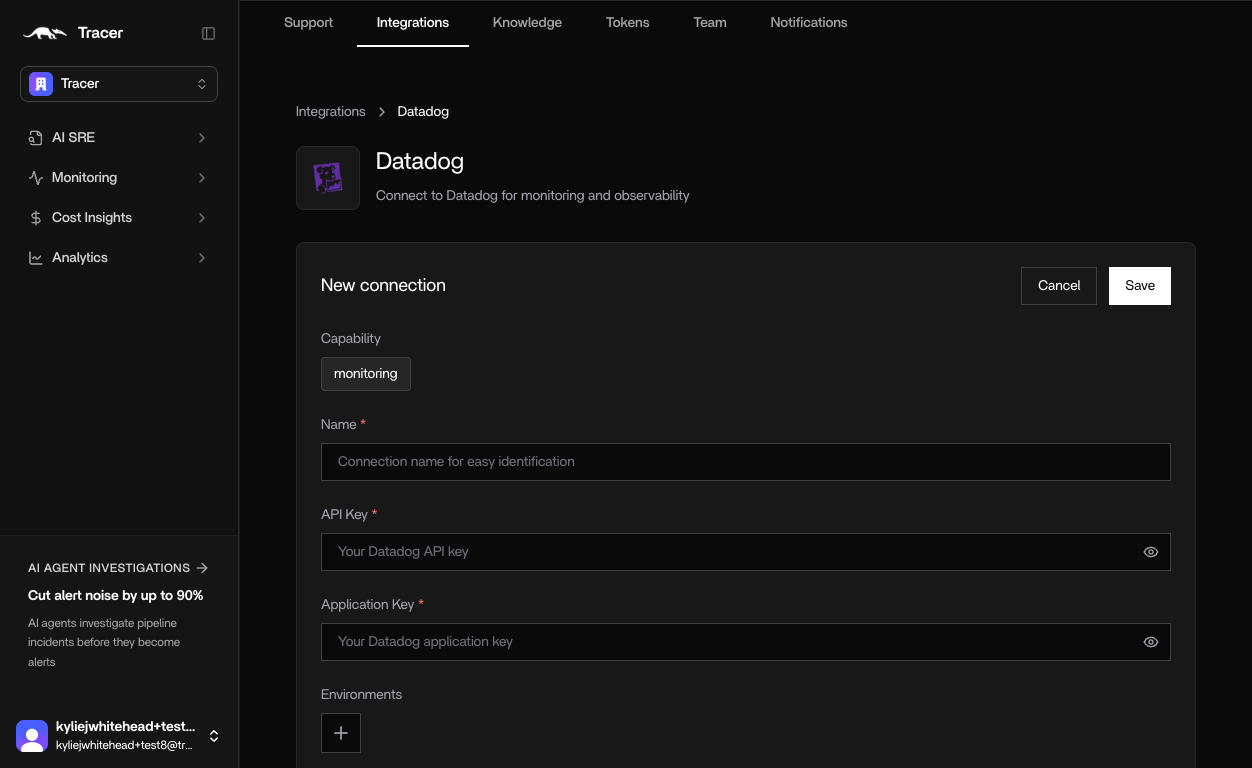
Step 4 — Save
Click Save credentials. HealOps:- Stores the credentials encrypted in AWS Secrets Manager, scoped to your organization.
- Runs a live health check against the provider.
- Updates the badge to Connected if the check passes.
Step 5 — Refresh health at any time
Click Refresh health at the top of the page to re-run health checks across all saved integrations without re-entering credentials.CLI integrations (local / on-prem)
Some integrations — databases, source control, internal tooling — run alongside the HealOps agent on the same host. These are configured via the CLI.Set up from the CLI
Verify connectivity
Which path does each integration use?
Related guides
- CLI Integration Setup — detailed CLI setup walkthrough
- Integrations overview — full integration catalog with environment variable reference
- Quickstart — install HealOps and run your first investigation